Archives For Pastel Ground

“Resurrection. The reversal of what was thought to be absolute. The turning of midnight into dawn, hatred into love, dying into living anew.

If we look more closely into life, we will find that resurrection is more than hope, it is our experience. The return to life from death is something we understand at our innermost depths, something we feel on the surface of our tender skin. We have come back to life, not only when we start to shake off a shroud of sorrow that has bound us, but when we begin to believe in all that is still, endlessly possible.

We give thanks for all those times we have arisen from the depths or simply taken a tiny step toward something new. May we be empowered by extraordinary second chances. And as we enter the world anew, let us turn the tides of despair into endless waves of hope.”

-Molly Fumia

Au Naturel

marylizingramart —  March 17, 2011 — 1 Comment


Au Naturel, 5×7 Pastel on Board

My favorite first sign of Spring is when the Daffodils appear; we have some that pop up around a tree in the front yard. I especially love the simple, small yellow version…the kind without the frills and elaborate coloring. Just a little yellow flower, with its six delicate petals, its fragile trumpet, and its softly colored green stem. Simple, basic, au naturel.

In this small piece, I tried to work quickly, getting down the basic shapes and colors without overworking, to capture the warm simplicity of the image…two little flowers in an old honey jar. I used a board painted with pastel ground in varying textures.

The Spanish Steps

marylizingramart —  March 11, 2011 — 1 Comment

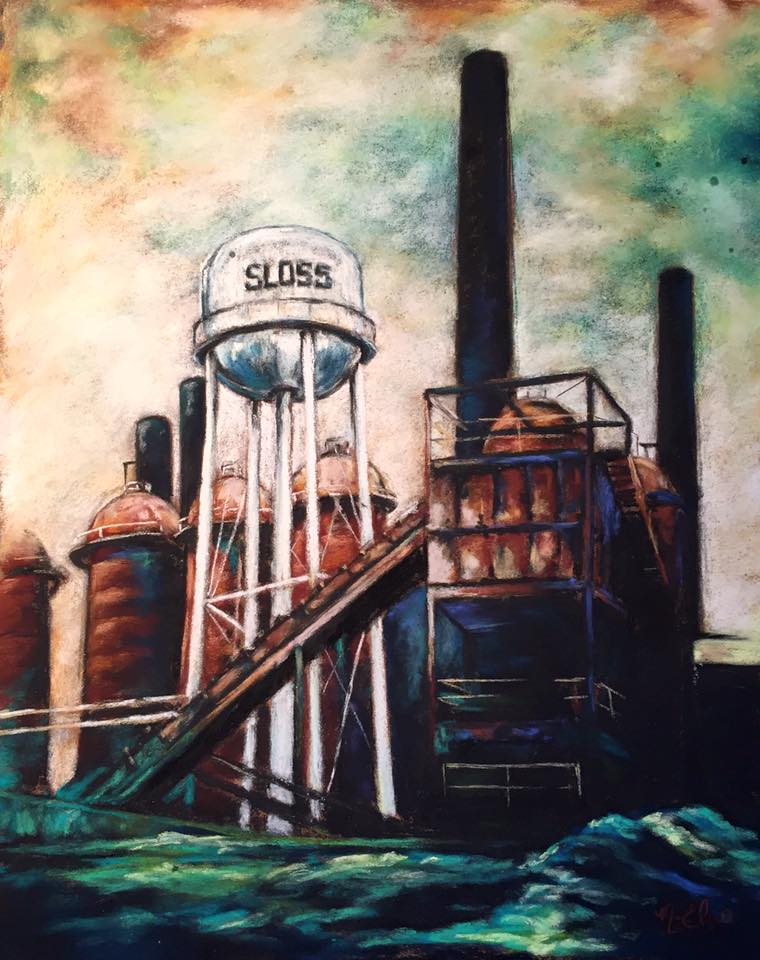
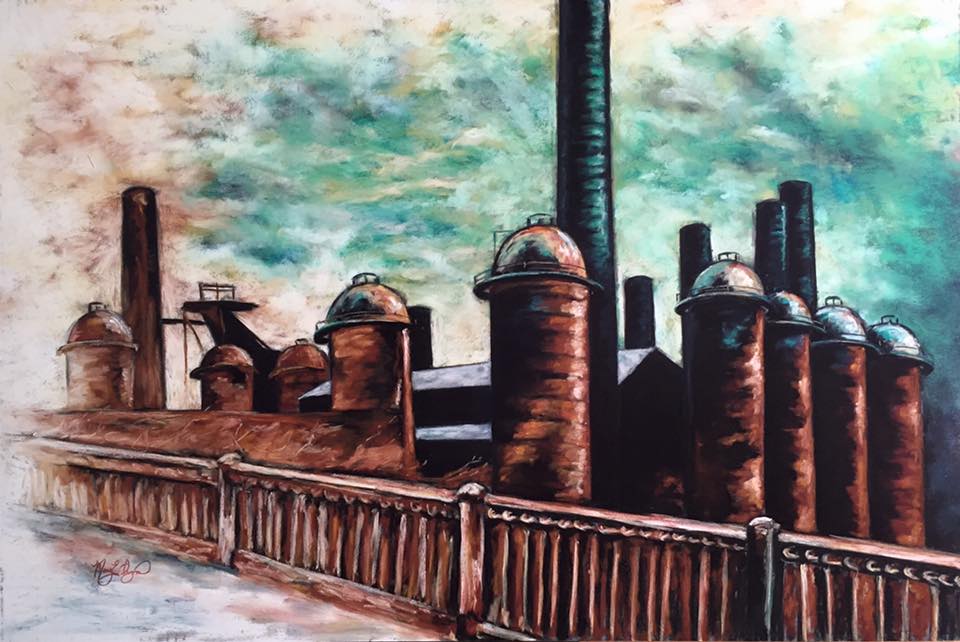
After a few weeks, the Spanish Steps are finally complete!


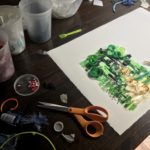
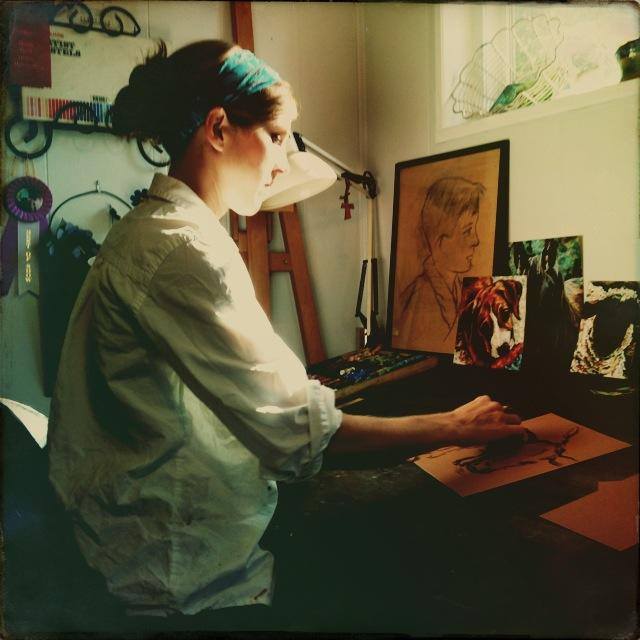
Since the piece is so large and bulky (30×30″), I moved my workspace from my art desk to my kitchen table, propping it up on a makeshift platform of a pastel box and French box easel. I used the grid method to make sure I got this technical subject correct, checking angles and being careful to keep my lines straight. I use a grid, dividing the space into quarters first and then lightly into 16 spaces, only occasionally when enlarging to such a great extent. I sketch first with pencil, making only a few corrections by pressing with a kneaded eraser (never rubbing as it damages texture); I just draw over “mistakes” rather than spend time erasing, since the pastel will cover any marks-gone-awry. Over the correct pencil marks, I redraw with a charcoal pencil to give it more substance and to ensure no parts get “lost” in the vibrant pastel.


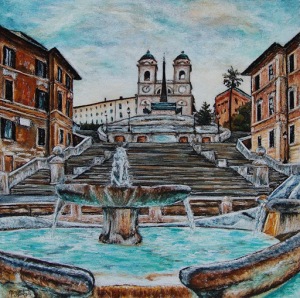
After the Spanish Steps were drawn and my area prepared, I began layering the pastel. Working on my self-prepared Pastel Ground surface proved different than I first expected. To the touch, the texture felt fine and grainy like a Pastelbord, but when I began applying the pastel for my sky, I found it more bumpy than sandy. At first I was frustrated working with such a rough texture that showed every pastel stroke. As I moved on to the rust-colored buildings, I embraced the difference of surface and adjusted my application to a more Impressionist-like, unfinished stroke, and with perseverance, am finally satisfied with the result.

I like the roughness I see when I look closely at the fountain, and it reminds me of some of Degas’ gritty looking pastel drawings. In the future, I will choose my surface based on the result I seek, adding Pastel Ground into the mix when I am looking for a deeper texture. This project was a learning experience and I am pleased to have been able to “experiment” a bit more than usual.

A New Project

marylizingramart —  March 5, 2011 — Leave a comment


I am currently working on a commission for a large, off-size pastel of the Spanish Steps in Rome. Since my preferred surface is a sturdy, textured board, and Pastelbords don’t come in 30×30″, I have embarked on a new adventure: preparing my own textured pastel board. My first challenge was finding some sort of board in the size required. While in retrospect I probably could have bought and had cut a piece of Masonite board, I chose a 30×30 encaustic board in a frame, thanks to the help of my friends at Forstall Art Center.

The next step was to apply the texture with my jar of Golden’s Acrylic Ground for Pastels. I tested the ground on some smaller boards first, dividing the board into quarters and trying different methods of application: straight, smooth brushstrokes; crosshatched brushstrokes; random, mottled brushstrokes; smoothed with my fingers; and finally, gently sanded areas to soften the texture. Once dry, I tested the surface with several bright and contrasting pastels, looking for good coverage and hoping for uniform texture. Alas, the coverage was good, but all textures were lacking. After doing a bit of research, I settled into thinning the pastel ground with 20% water and applying the medium smoothly and uniformly with a foam roller that I bought for about $1. Perfection! It looks and feels so much like a Pastelbord, and I am very satisfied.

More on this project soon to follow…