


Chalk on a blackboard. What images pop into your mind? Math class, handwriting lessons, doodling in the corner when the teacher wasn’t looking….
Well allow me to introduce a new image: creating a pastel painting on a black board. If you know me at all, or follow my blog, you will know I love, love, love a good black base for my pastels. Up until today, this only meant that I start with black pastel.
But today, (drum roll please…) I created my own black pastel board!
Let me walk you through the process, and show you my results:
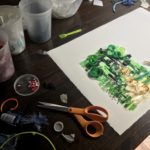
1. Using a black board, I painted a glaze of Golden’s Acrylic Ground for Pastels. Pastel ground creates a fine, gritty surface like Ampersand’s Pastelbords and Sennelier’s La Carte Pastel Card. It dries clear, so it was perfect for my experiment! I thinned the medium with a ratio of about 1 part water to 3 parts pastel ground. Since I like plenty of texture, I just used a foam brush to apply the ground. If you prefer a more uniform surface, a foam roller works best.
I was planning to paint a surface black with acrylic paint, (a piece of masonite, or something similar) but I happened to find this handy 12×12″ black board peeking out from a stack of frames.
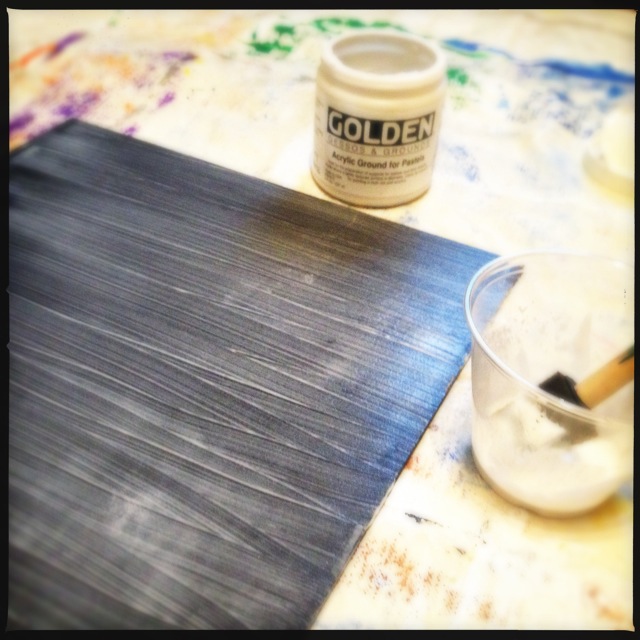
Applying the ground
2. I applied 2 coats, painting in different directions, and let it dry thoroughly.
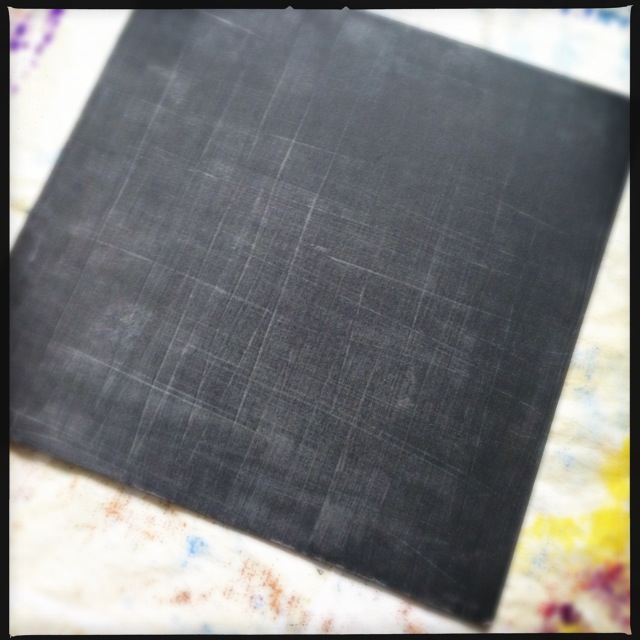
Prepared Surface
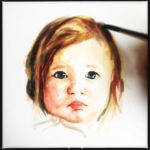
3. I loosely sketched my drawing, and went ahead and completed the face. I sometimes find it easier to draw faces by blocking in with color instead of sketching with a charcoal pencil. Also, I wanted the face to be the strong and bright component of this piece.
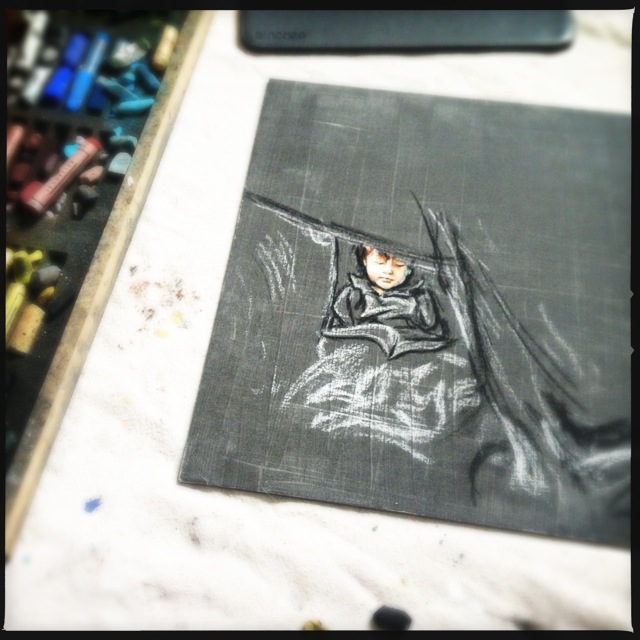
Initial Sketch
4. Using a piece of charcoal, I blocked in my base layer and suggested the movement of the piles of pillows and blankets.
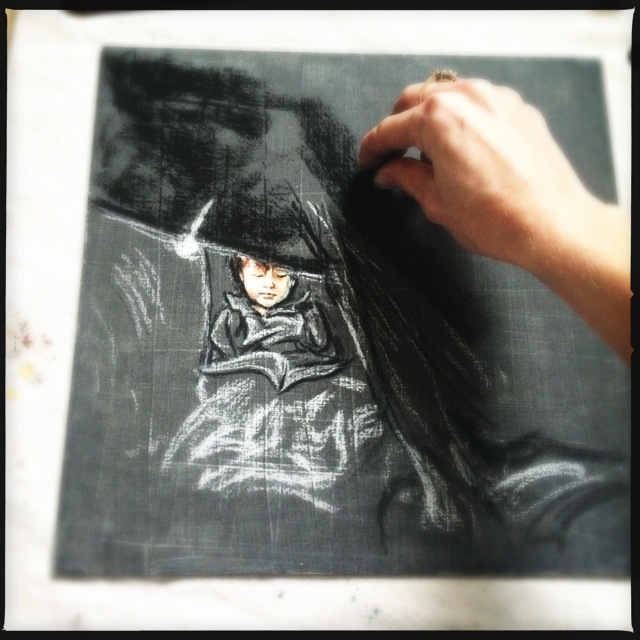
Beginning the Base Layer
5. Upon finishing the base layer, I could already see the benefit to the black surface. I didn’t have to use as much pastel, and the color showing through worked well with the black pastel. I told you I love to start with black:

Base Layer Complete
6. I then layered my colors from dark to light as usual, and added the final touches. Voila!
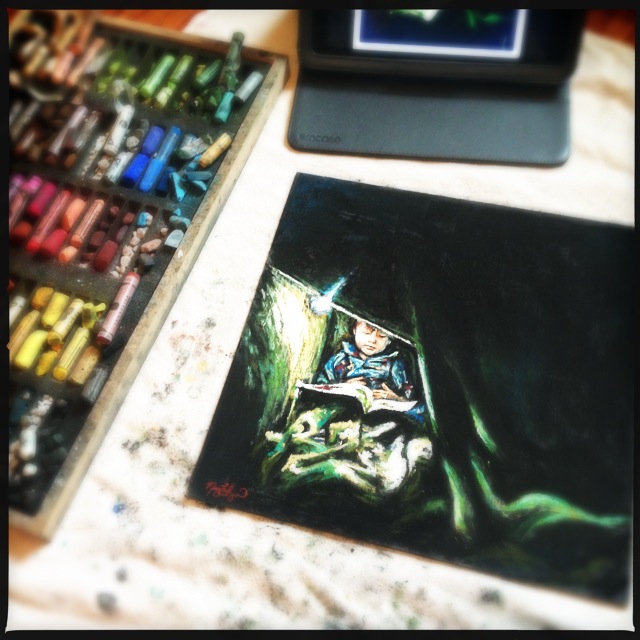
Finishing Touches
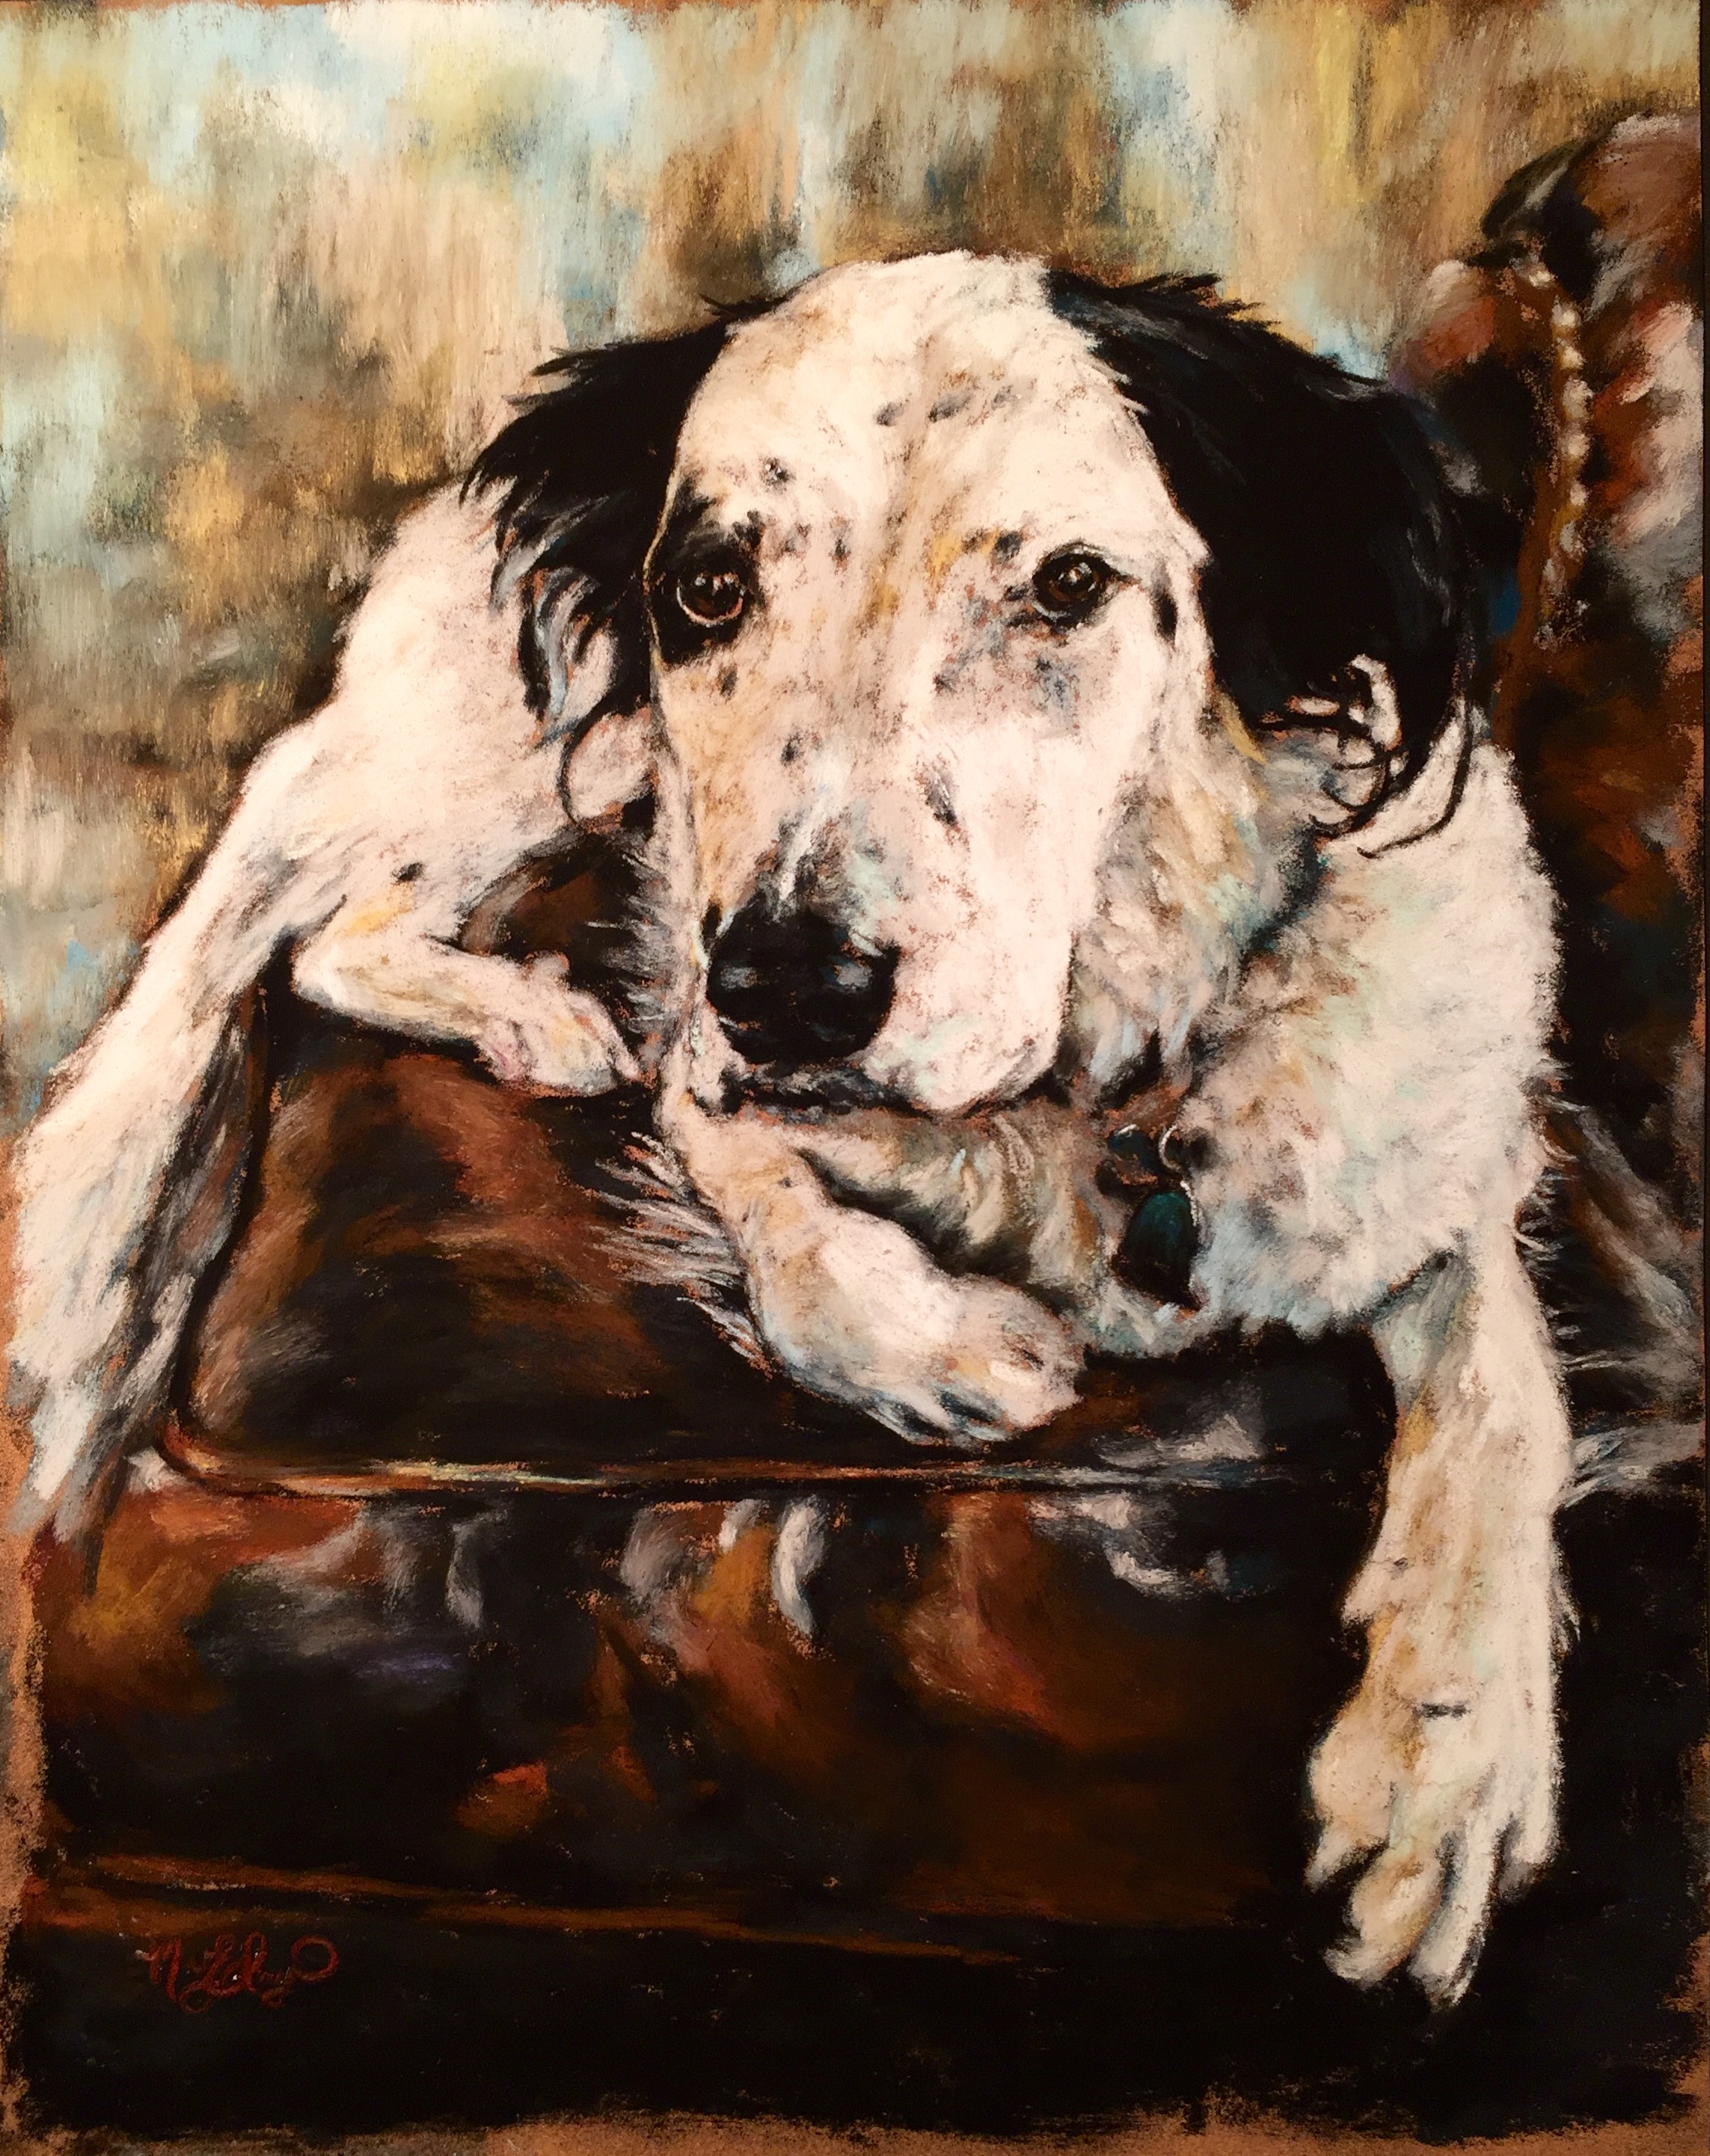
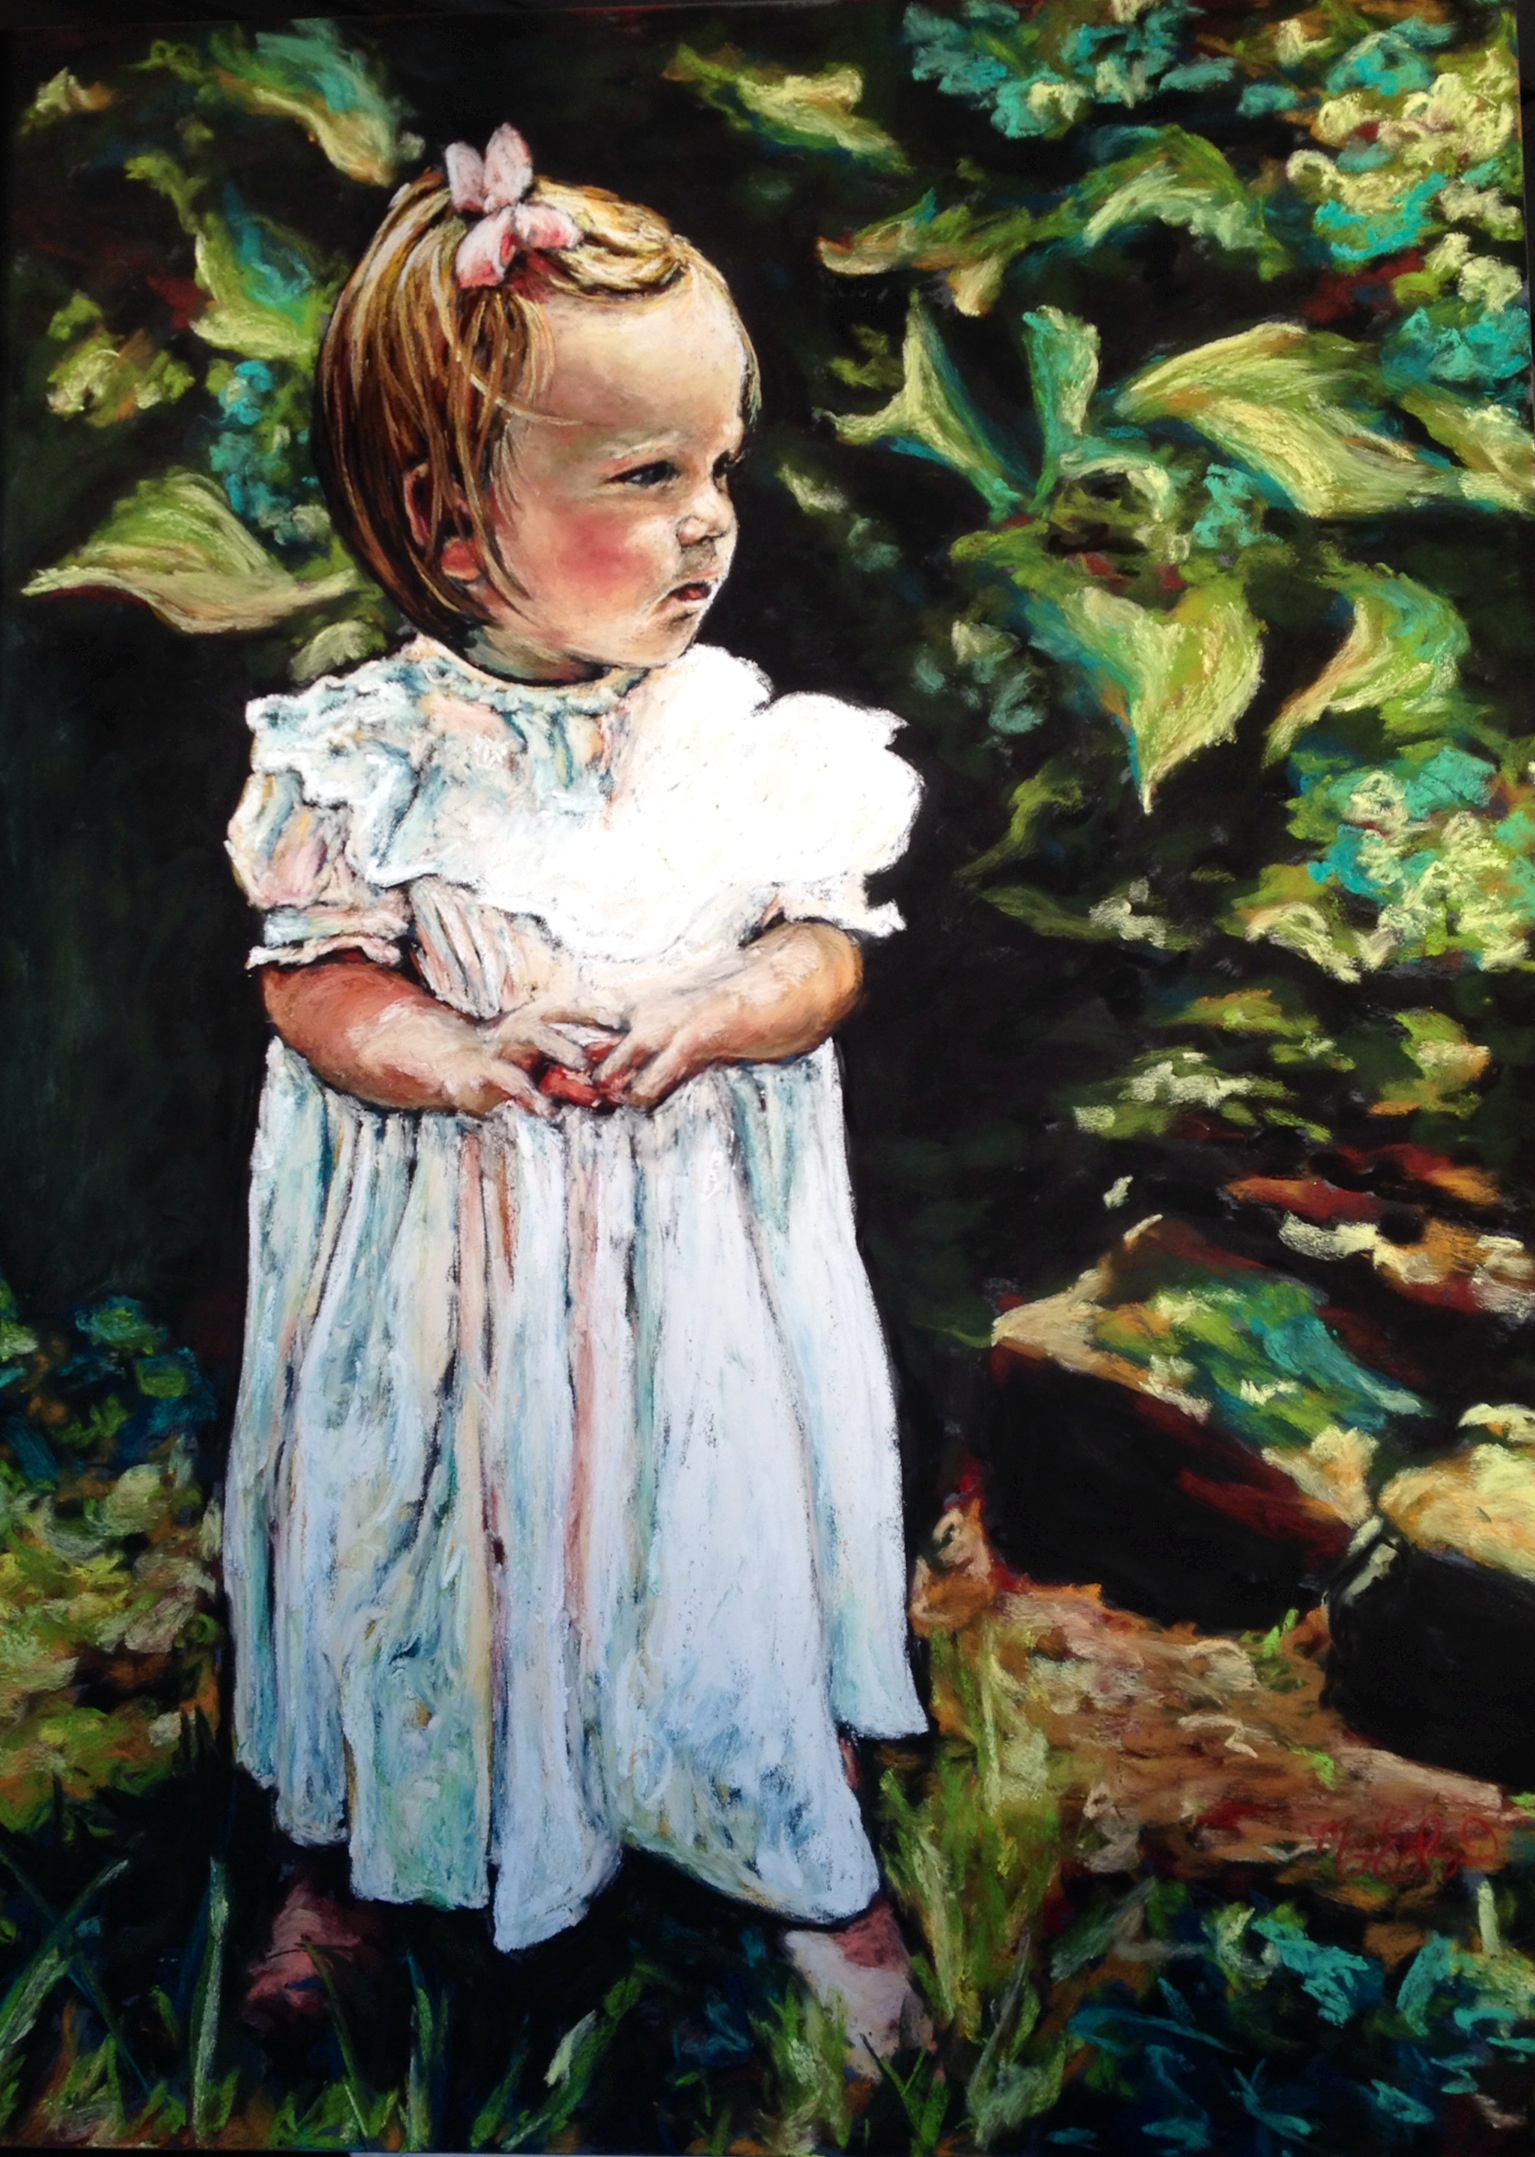
7. The finished product:
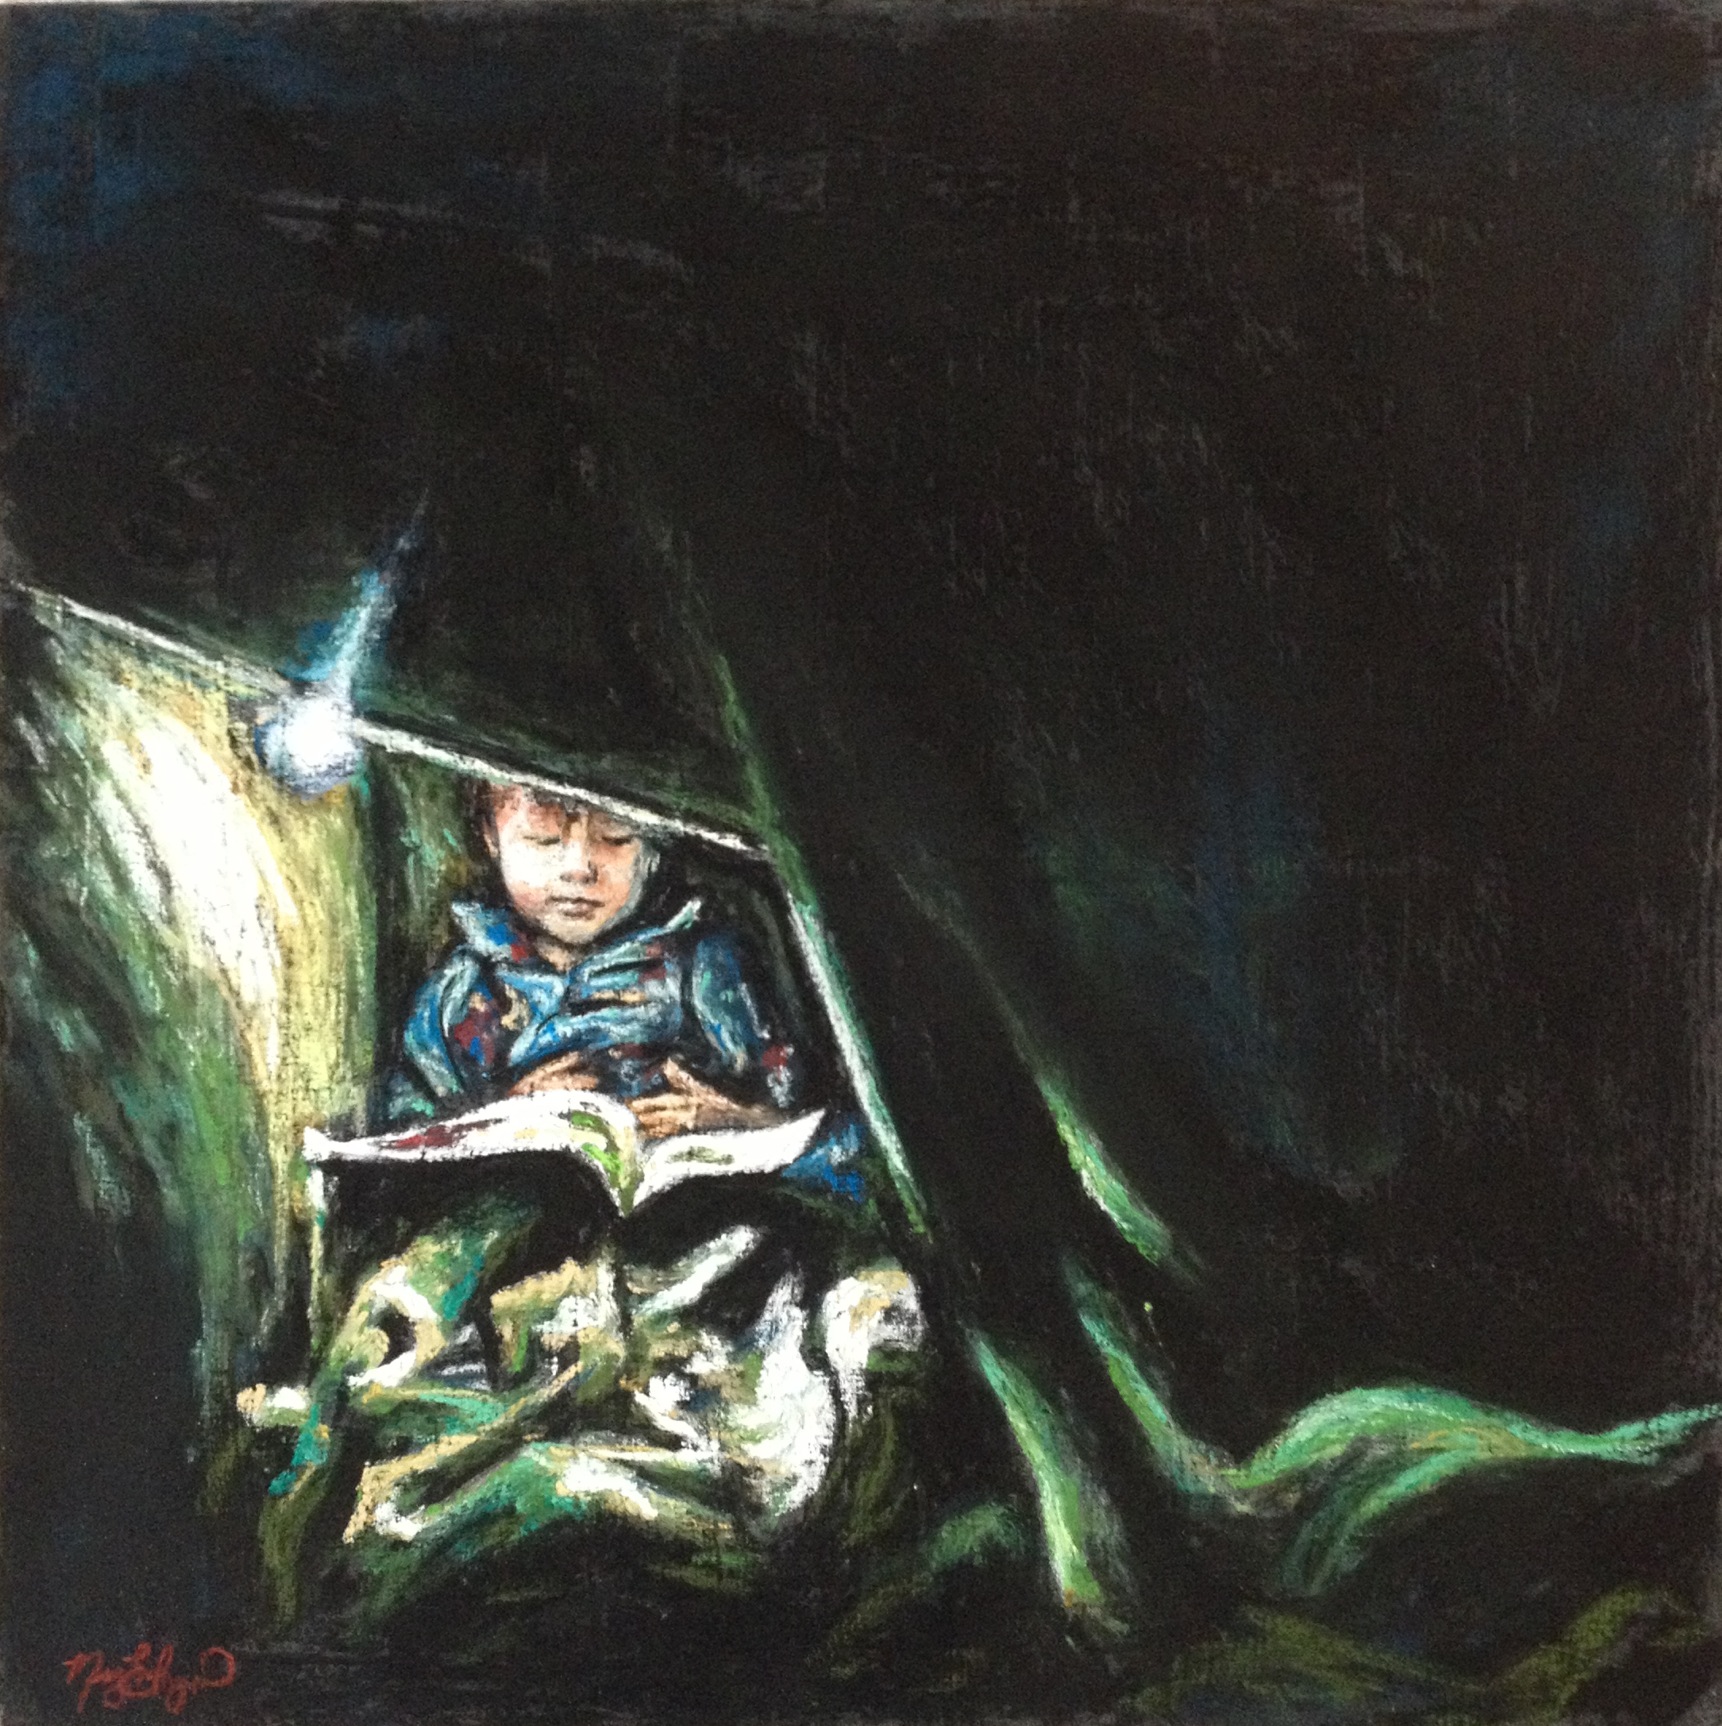
Pillow Fort, 12×12 Soft Pastel on board
An artist always benefits from critiques and the sharing of ideas! I’d love to hear what you think…